
Moss stick set - with air-permeable pot (climbing aid size:S, pot diameter in cm:10, With moss:No, With dripper:No)
")
")
")
")
")
")
")
")
")
€13.30*
Available in 14 days, delivery time Delivery time: 1 - 2 days
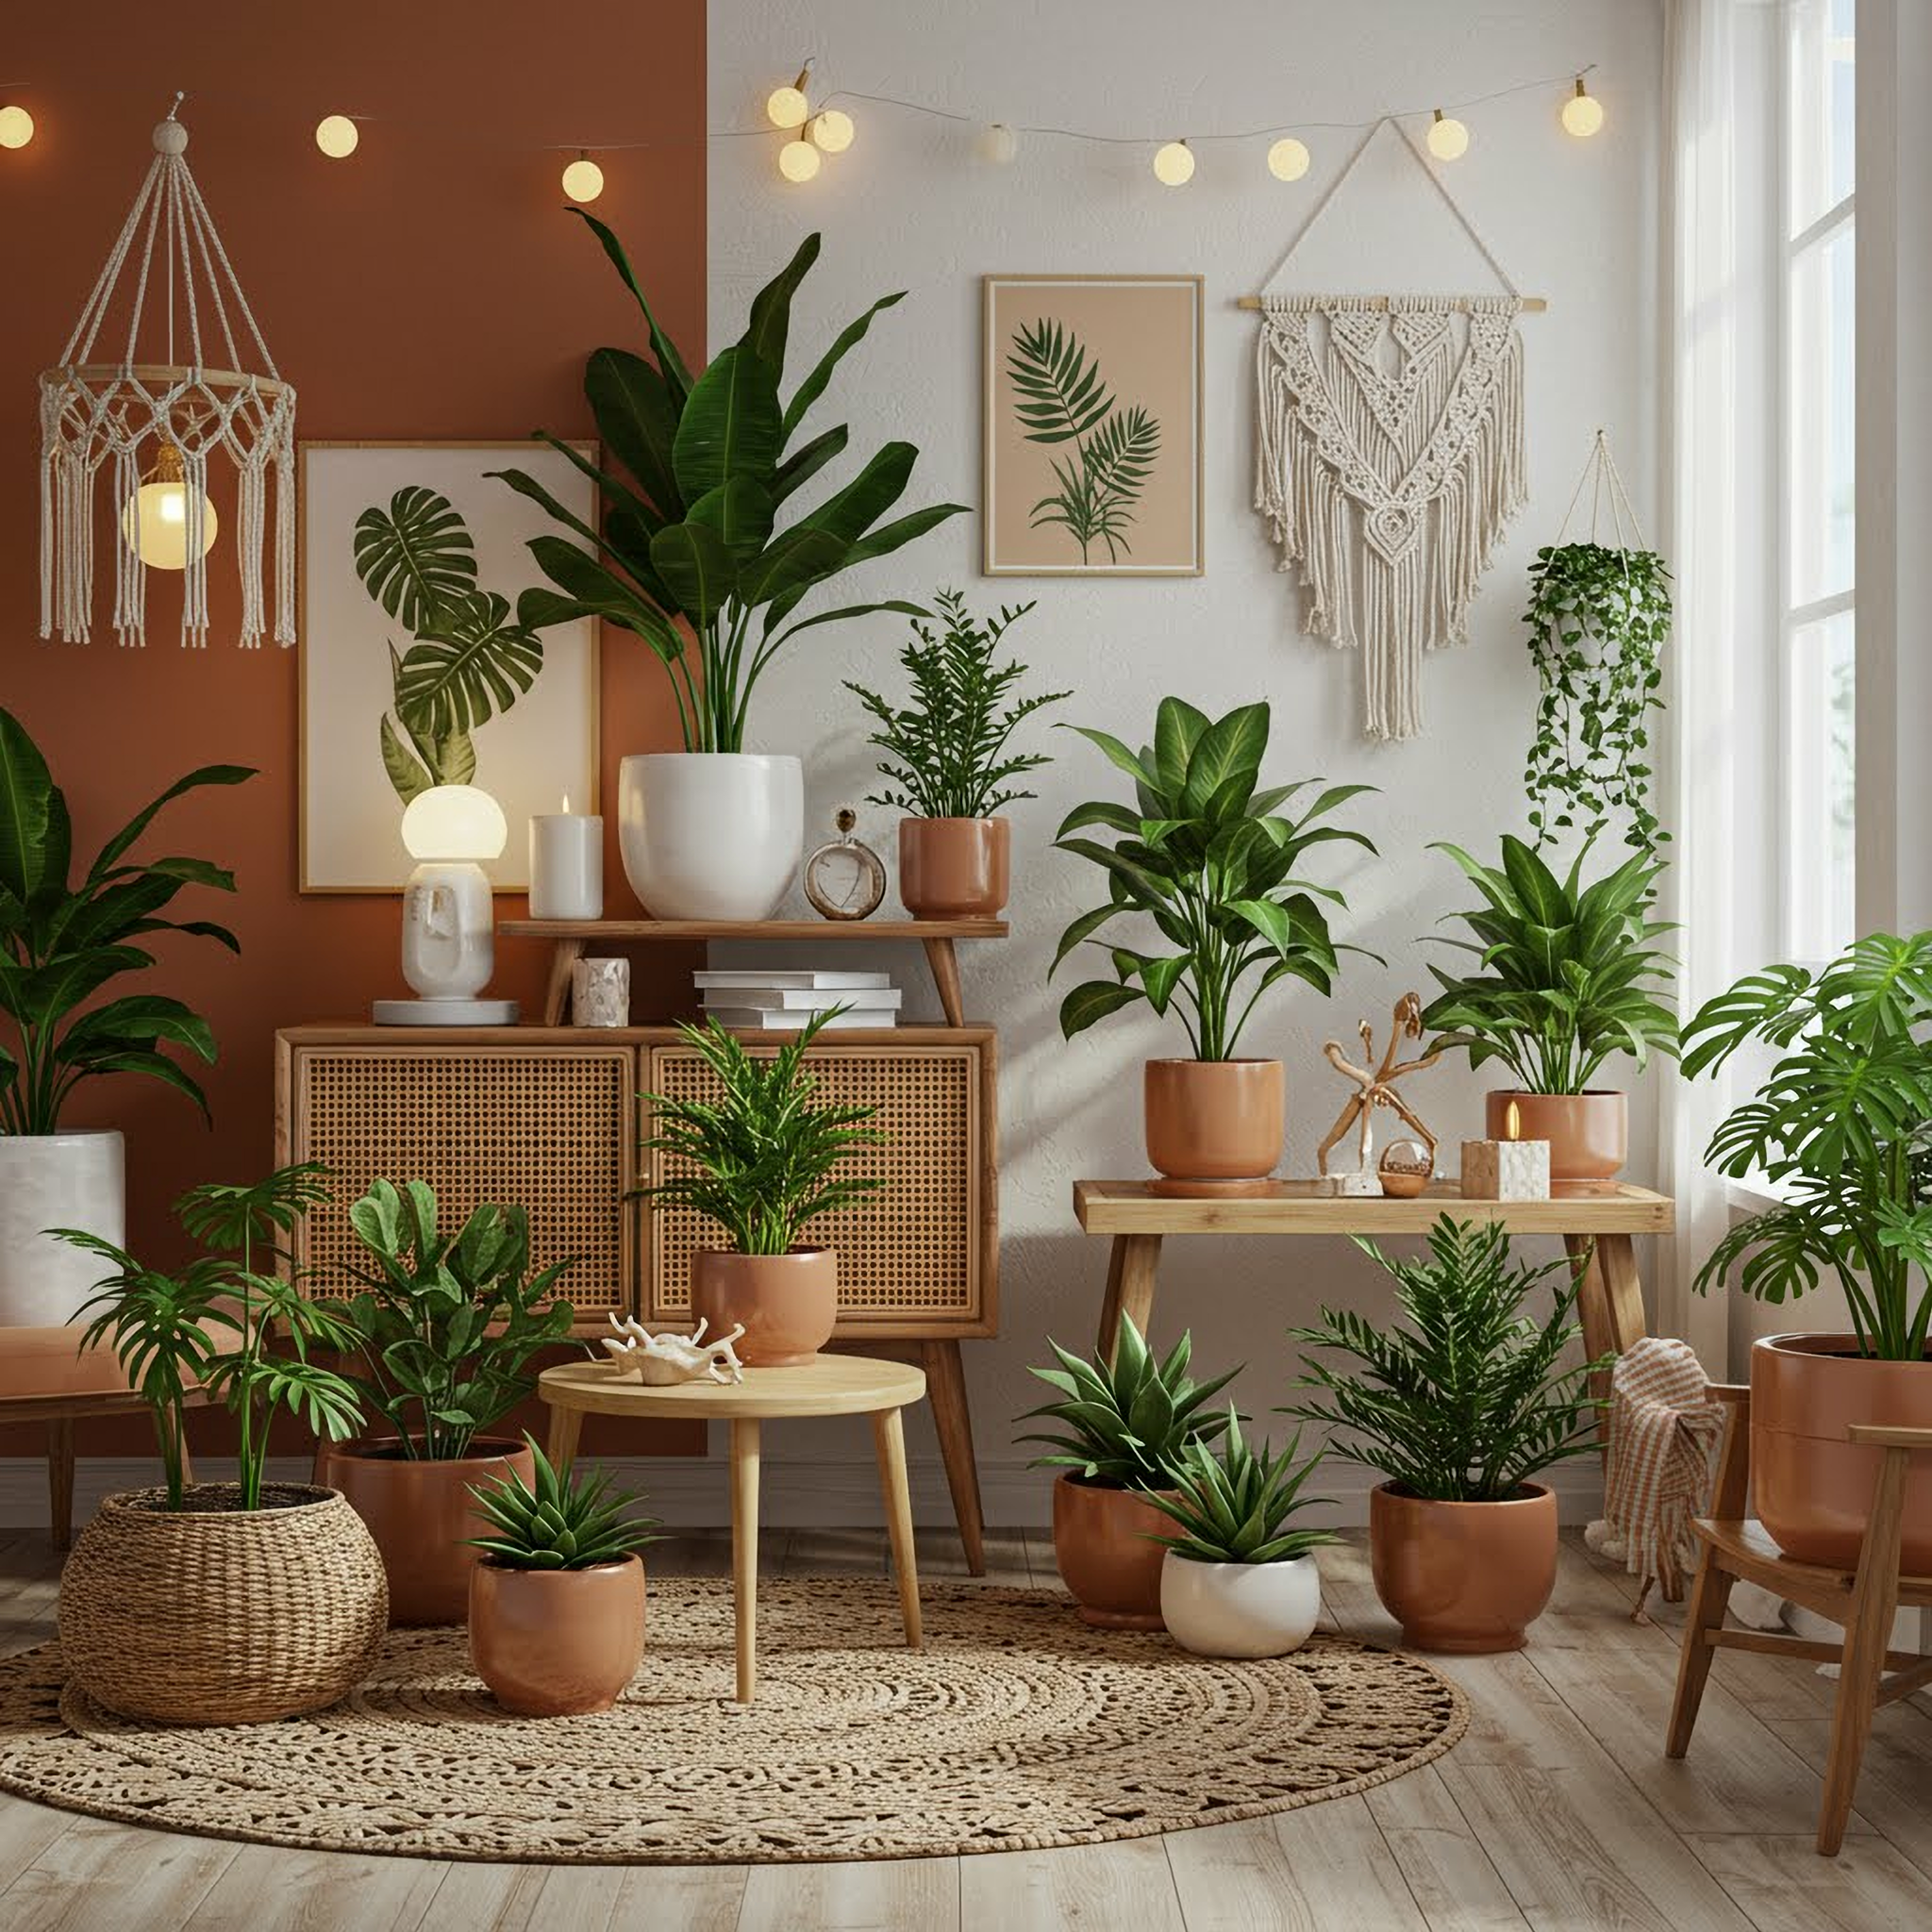
Plantscraper climbing plant set WITHOUT dripper
The essential basis for stable and healthy climbing plants!
The Plantscraper climbing plant set WITHOUT dripper provides you with the perfect basis to give your climbing beauties optimum support and the best growing conditions. This set includes our high-quality Aroid pot with saucer for healthy roots, the stabilising climbing support anchor and the innovative moss stick with front opening. Ideal for all plant lovers who already have a preferred watering method or would like to add the dripper later as an option.
What makes this set stand out:
-
Front Opening Moss Pole (moss pole with front opening):
- Easy access: The innovative front opening design makes it easy to insert and remove your plants and minimises root stress. Perfect for aerial rooting, rooting lower nodes or direct planting of cuttings.
- Optimal humidity: The front ventilation helps to retain moisture in the moss for longer.
- High-quality material: Made from robust, BPA-free polypropylene/PET plastic in crystal clear.
- Modular & Reusable: Stackable up to 4 units, easy to disassemble and clean.
- Sizes: S, M, L, XL (suitable for different plant heights and needs).
- Care: Water from above to keep the moss moist. Fertilise regularly.
-
Aroid pot + saucer (aroid pot with saucer):
- Optimal root health: The anti-spiral structure prevents ring root formation and promotes healthy, downward root growth.
- Transparent control: Conveniently monitor root health and moisture content at any time.
- Excellent ventilation & drainage: Eight rows of side vents ensure maximum oxygen supply and an improved drainage system prevents root rot.
- Durable material: Made from durable, recyclable PP plastic.
- Sizes: 10 cm, 12 cm, 14 cm, 16 cm, 18 cm, 21 cm, 24 cm, 28 cm.
-
Anchor (climbing aid anchor):
- Improved stability: Seamlessly connects your Aroid pot to the Prime Line moss pole, providing a durable, secure structure even as your plants grow larger and heavier.
- Sustainable material: Made from robust, bio-based PLA (compostable).
- Made in Europe.
- Important note on pot selection: To ensure sufficient space for anchors and roots, we recommend choosing a pot that is 4 to 8 cm larger in diameter than your plant's existing pot. (Example: Your Monstera is in a 10 cm pot? Choose a 16 or 18 cm pot for the set.)
Included in the set:
- 1x Aroid Pot (size of your choice)
- 1x Matching trivet
- 1x Front Opening Moss Pole (size of your choice)
- 1x Anchor (size to match the selected pot and moss pole)
How to choose your perfect set:
- Determine the required size of the Aroid Pot. Remember to make the pot 4-8 cm larger to make room for the anchor.
- Choose the desired size (S, M, L, XL) for your Front Opening Moss Pole.
- The Anchor is supplied to match the combination of pot and moss pole size.
Create the ideal conditions for your climbing plants with the Plantscraper Basic Set. For even more convenient watering, you can purchase our Moss Pole Rapid Dripper separately at any time and expand your system.
STEP 1
The rod is covered with a protective film on both sides. Remove this film before assembly. Fold the rod along the "pre-punched" fold lines on both sides towards the centre.

STEP 2
Place the stick on a flat surface and fill it with a substrate of your choice, such as moss, moss stick mix or another suitable material.
Please don't stuff the moss stick too full, but don't leave the material too loose either. If it is too full, the roots will have a hard time. If the material inside is too loose, the moss stick will not hold when you expand it.
If you fill the moss stick with moss, it is better if you soak it in water first.
💡 TIP: Make sure that the part of the moss stick that is in the pot is filled with normal substrate, not soaked materials such as moss, to ensure stability and proper support.

STEP 3
Carefully bend the rod inwards and hook in the horizontal tabs one after the other to close it. If the moss feels loose, you can go back to step 2 and add more moss until it is sufficiently tight.

STEP 4
Position your plant on the pole. Open the nearest horizontal tabs and place them over the stem of the plant to secure it. Make sure to leave the top knot untied so that the plant can grow freely and the tip does not grow into the pole.
STEP 5
Insert the stick into your pot and make sure it sits on the bottom.

STEP 6
Fill the pot with your chosen growing medium and make sure that you fill around the rod without leaving any cavities. Press the medium lightly for more stability.

STEP 7
Water your plant and keep the moss stick moist to encourage the aerial roots to attach.

🚀 EXTRA FUTURE STEP 1
Once the plant has reached the top of the moss stick, it's time to extend it. To do this, slide a new stick over the existing one, ensuring an overlap of 7-10 cm for stability. Make sure to use the same moss stick size (S, M, L, XL) as the existing stick to ensure a seamless extension.
& And that's it! Have fun with your new PlantScraper® moss stick! 💚

🚀 EXTRA FUTURE STEP 2
To propagate, open the tabs and carefully remove the plant from the stick to obtain root-ready cuttings. You can place them in a larger moss stick. You can reuse the used stick.
Login


