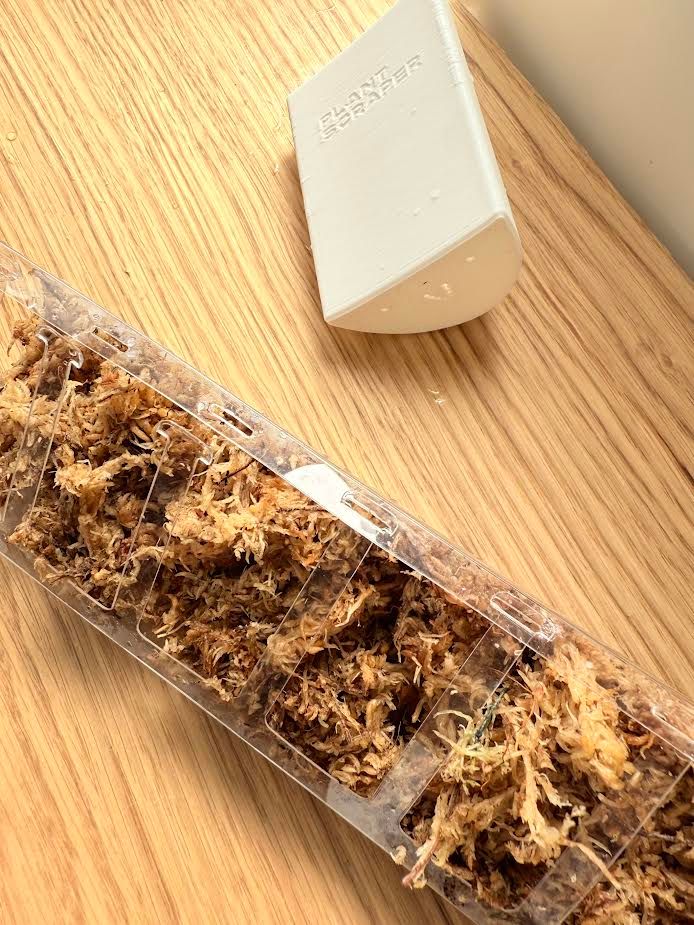
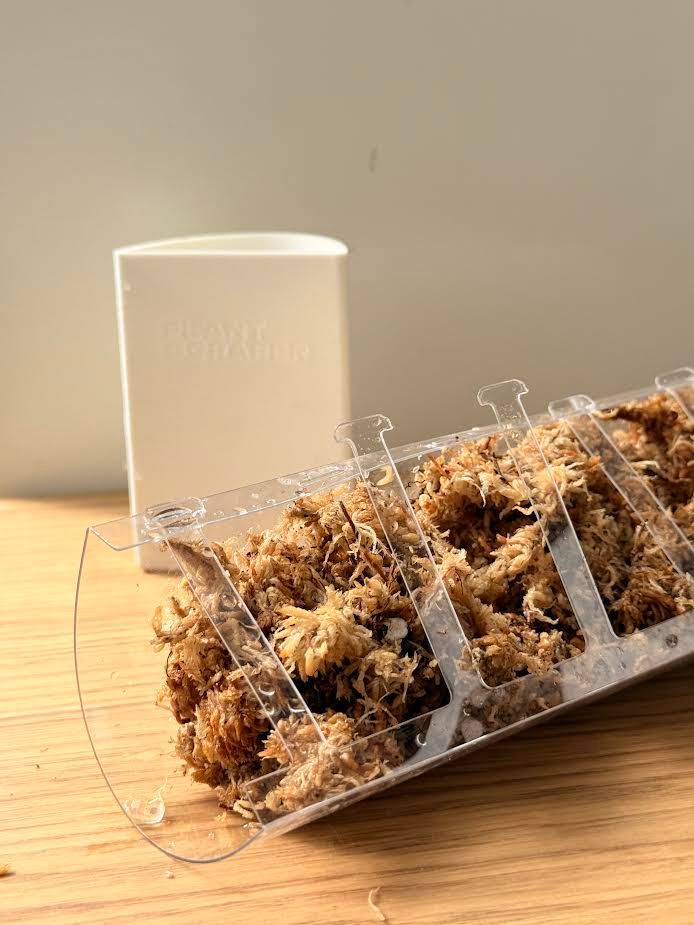
Moosstab Set - Verschiedene Größen mit Luftdurchlässigen Topf
€50.35*
Available in 14 days, delivery time 1-3 days
Plantscraper Kletterpflanzen-Set OHNE Dripper
Die essentielle Basis für stabile und gesunde Kletterpflanzen!
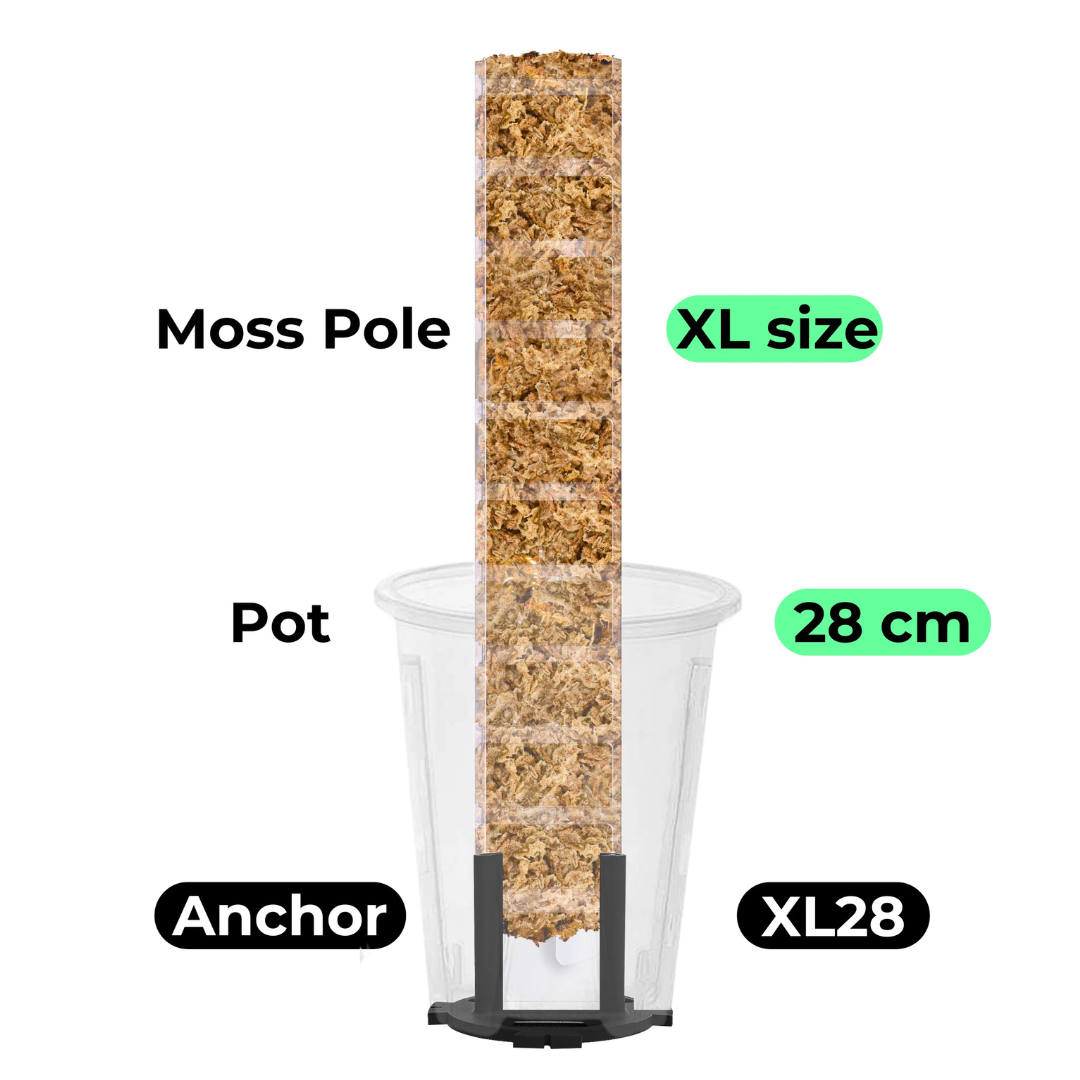
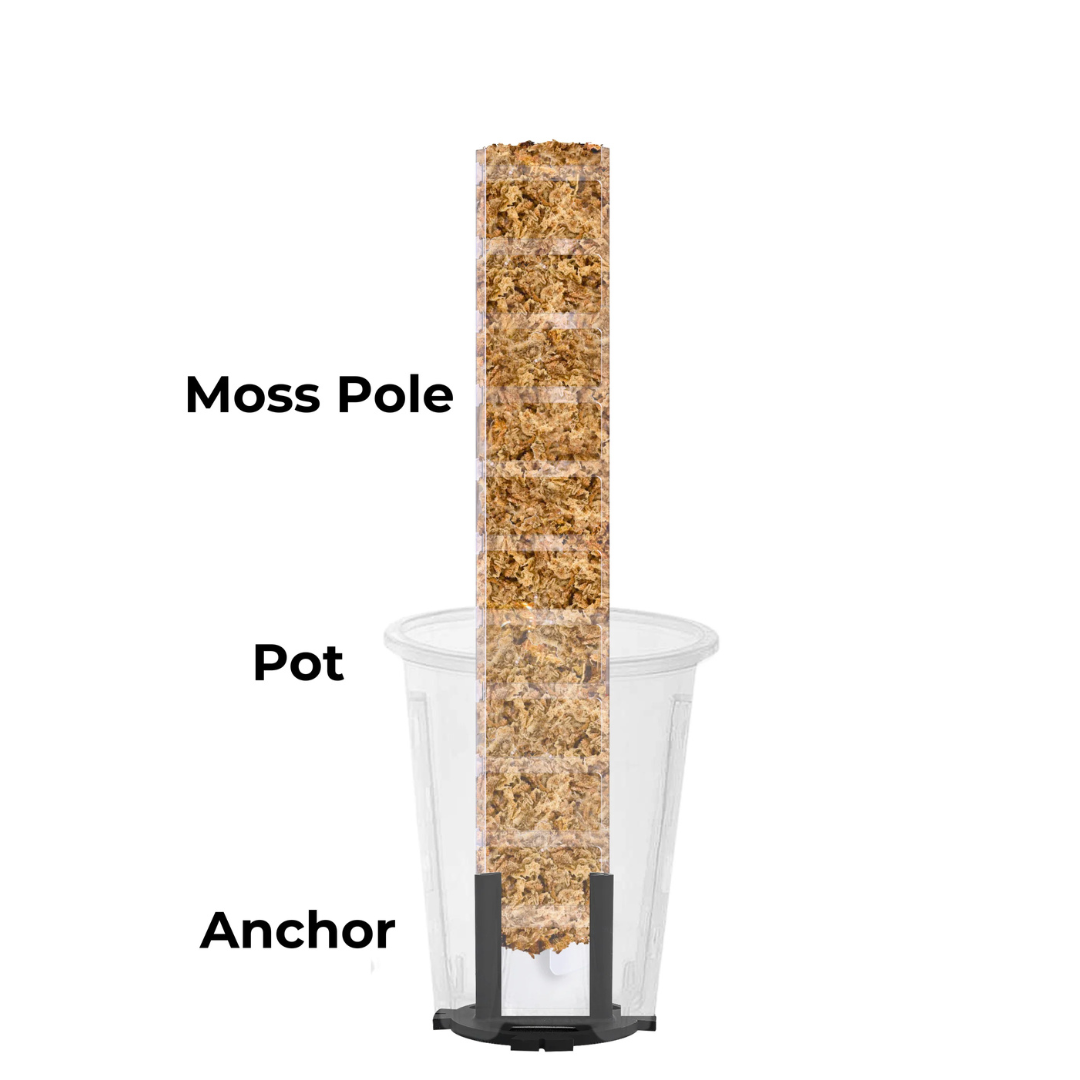
Das Plantscraper Kletterpflanzen-Set OHNE Dripper bietet Ihnen die perfekte Grundlage, um Ihren rankenden Schönheiten optimalen Halt und beste Wachstumsbedingungen zu ermöglichen. Dieses Set beinhaltet unseren hochwertigen Aroid-Topf mit Untersetzer für gesunde Wurzeln, den stabilisierenden Rankhilfe-Anker und den innovativen Moosstab mit Frontöffnung. Ideal für alle Pflanzenliebhaber, die bereits eine bevorzugte Bewässerungsmethode haben oder den Dripper optional später hinzufügen möchten.
Was dieses Set auszeichnet:
-
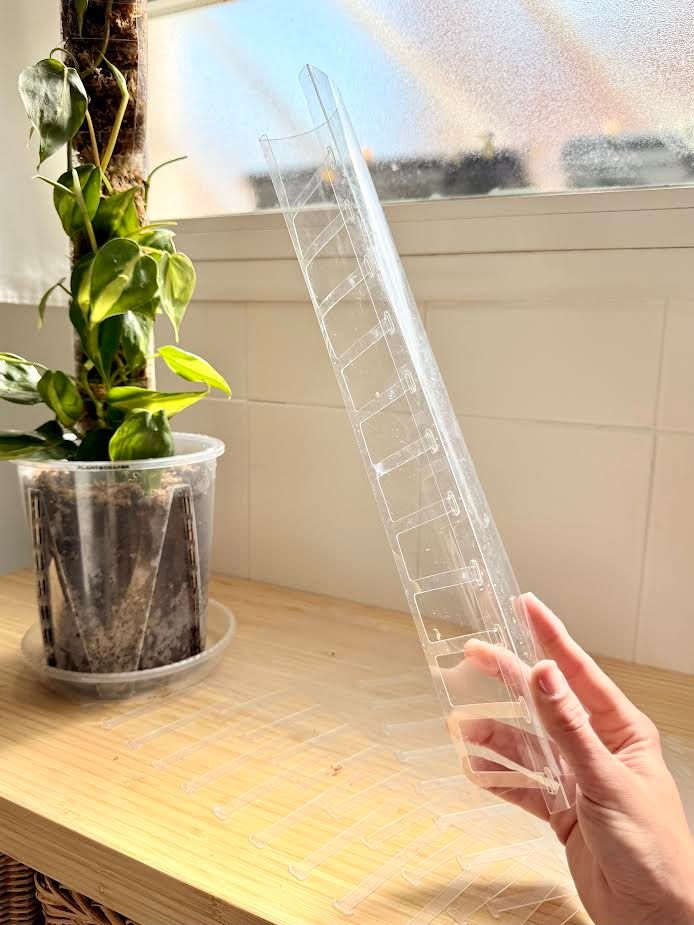
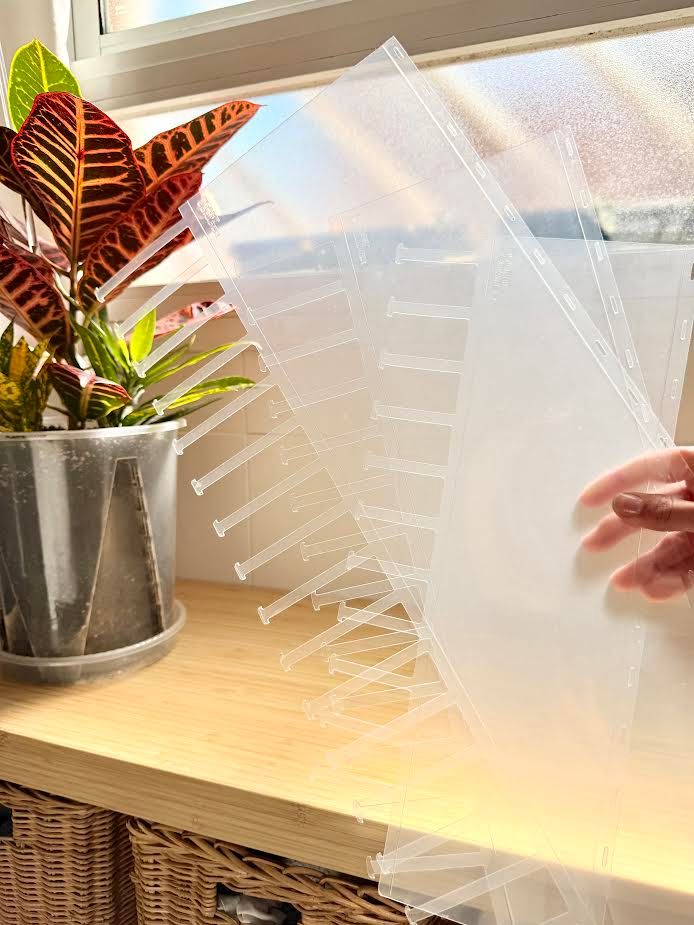
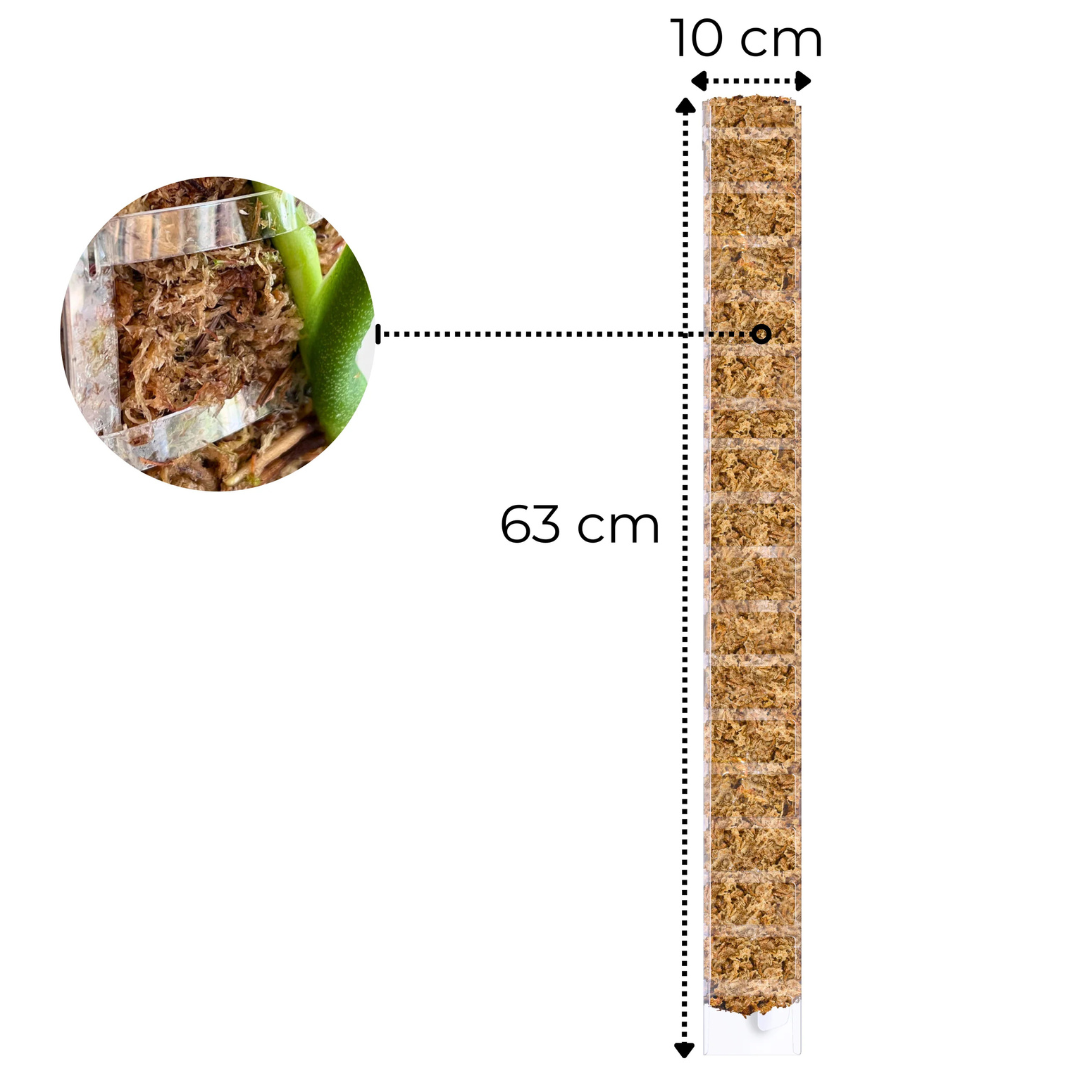
Front Opening Moss Pole (Moosstab mit Frontöffnung):
- Müheloser Zugang: Das innovative Design mit Frontöffnung erleichtert das Einsetzen und Entnehmen Ihrer Pflanzen und minimiert Wurzelstress. Perfekt für Luftwurzelbildung, das Bewurzeln unterer Nodien oder das direkte Einpflanzen von Stecklingen.
- Optimale Feuchtigkeit: Die frontseitige Belüftung hilft, die Feuchtigkeit im Moos länger zu halten.
- Hochwertiges Material: Gefertigt aus robustem, BPA-freiem Polypropylen/PET-Kunststoff in Kristallklar.
- Modular & Wiederverwendbar: Bis zu 4 Einheiten stapelbar, leicht zu demontieren und zu reinigen.
- Größen: S, M, L, XL (passend für unterschiedliche Pflanzenhöhen und -bedürfnisse).
- Pflege: Von oben wässern, um das Moos feucht zu halten. Regelmäßig düngen.
-
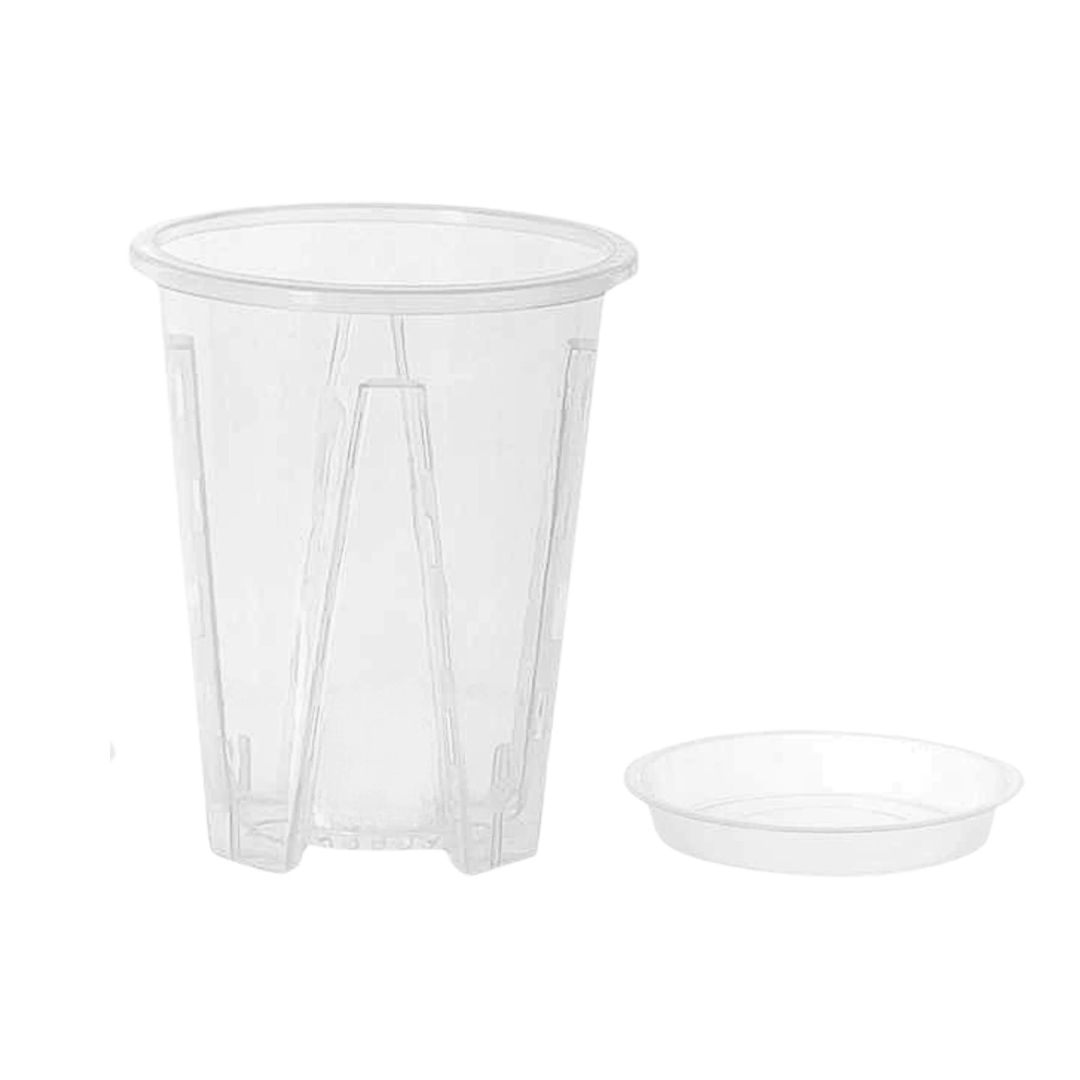
Aroid Pot + Saucer (Aroid-Topf mit Untersetzer):
- Optimale Wurzelgesundheit: Die Anti-Spiral-Struktur verhindert Ringwurzelbildung und fördert ein gesundes, nach unten gerichtetes Wurzelwachstum.
- Transparente Kontrolle: Überwachen Sie jederzeit bequem Wurzelgesundheit und Feuchtigkeitsgehalt.
- Exzellente Belüftung & Drainage: Acht Reihen seitlicher Lüftungsschlitze sorgen für maximale Sauerstoffzufuhr und ein verbessertes Drainagesystem beugt Wurzelfäule vor.
- Langlebiges Material: Hergestellt aus widerstandsfähigem, recycelbarem PP-Kunststoff.
- Größen: 10 cm, 12 cm, 14 cm, 16 cm, 18 cm, 21 cm, 24 cm, 28 cm.
-
Anchor (Rankhilfe-Anker):
- Verbesserte Stabilität: Verbindet Ihren Aroid-Topf nahtlos mit dem Moosstab der Prime Line und sorgt für eine dauerhafte, sichere Struktur, auch wenn Ihre Pflanzen größer und schwerer werden.
- Nachhaltiges Material: Gefertigt aus robustem, biobasiertem PLA (kompostierbar).
- Hergestellt in Europa.
- Wichtiger Hinweis zur Topfwahl: Um genügend Platz für Anker und Wurzeln zu gewährleisten, empfehlen wir, Ihren Topf um 4 bis 8 cm im Durchmesser größer zu wählen als der bisherige Topf Ihrer Pflanze. (Beispiel: Ihre Monstera ist in einem 10 cm Topf? Wählen Sie einen 16 oder 18 cm Topf für das Set.)
Im Set enthalten:
- 1x Aroid Pot (Größe nach Wahl)
- 1x Passender Untersetzer
- 1x Front Opening Moss Pole (Größe nach Wahl)
- 1x Anchor (Größe passend zum gewählten Topf und Moosstab)
So wählen Sie Ihr perfektes Set:
- Bestimmen Sie die benötigte Größe des Aroid Pots. Denken Sie daran, den Topf 4-8 cm größer zu wählen, um Platz für den Anchor zu schaffen.
- Wählen Sie die gewünschte Größe (S, M, L, XL) für Ihren Front Opening Moss Pole.
- Der Anchor wird passend zur Kombination aus Topf- und Moosstabgröße geliefert.
Schaffen Sie die idealen Bedingungen für Ihre Kletterpflanzen mit dem Plantscraper Basis-Set. Für eine noch komfortablere Bewässerung können Sie unseren Moss Pole Rapid Dripper jederzeit separat erwerben und Ihr System erweitern.
STEP 1
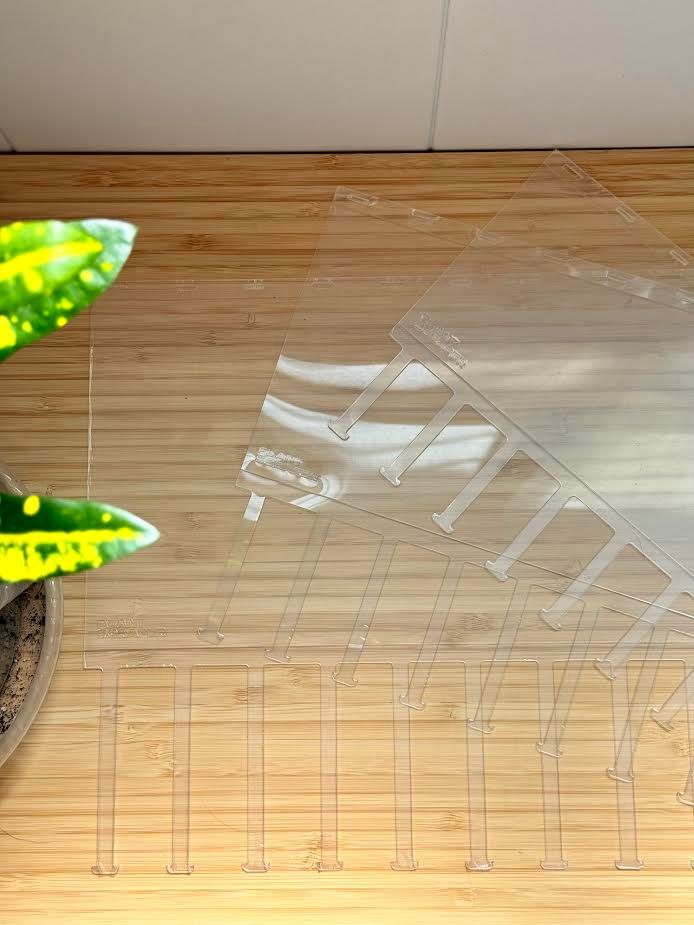
The pole is covered with a protective film on both sides. Remove this film before assembly. Fold the pole along the "pre-scored" fold lines on both sides, bringing them towards the center.

STEP 2
Lay the pole on a flat surface and fill it with your choice of substrate, such as moss, moss pole mix, or another suitable material.
Please don't pack the moss pole too much, but don't leave it loose. If packed to much, the roots will struggle. If too loose inside, the moss pole won't hold when extendengin.
If you are filling the moss pole with moss, it's better if you soack it in water first.
💡 TIP: Ensure that the portion of the moss pole inside the pot is filled with regular substrate, not soggy materials like moss, to maintain stability and proper support.

STEP 3
Gently bend the pole inward and lock the horizontal tabs one by one to close it. If the moss feels loose, you can return to step 2 and add more moss until it is packed sufficiently.

STEP 4
Position your plant against the pole. Unlock the nearest horizontal tabs and place them over the plant's stem to hold it in place. Be sure to leave the top node untied allowing the plant to grow freely avoiding the tip growing into the pole.

STEP 5
Insert the pole into your pot, ensuring it sits at the bottom.

STEP 6
Fill the pot with your chosen growing medium, making sure to fill around the pole without leaving any empty spaces. Gently pack the medium for stability.

STEP 7
Water your plant and keep the moss pole moist to encourage the aerial roots to attach.

🚀 EXTRA FUTURE STEP 1
Once the plant reaches the top of the moss pole, it’s time to extend it. To do so, slide a new pole over the existing one, ensuring an overlap of 7–10 cm for stability. Be sure to use the same moss pole size (S, M, L, XL) as the existing one to ensure a seamless extension.
& c'est fini! Enjoy your new PlantScraper® moss pole! 💚

🚀 EXTRA FUTURE STEP 2
To propagate, open the tabs and gently remove the plant from the pole to enjoy root-ready cuttings. You can put them in a bigger moss pole. You can reuse the used pole again.
Login

